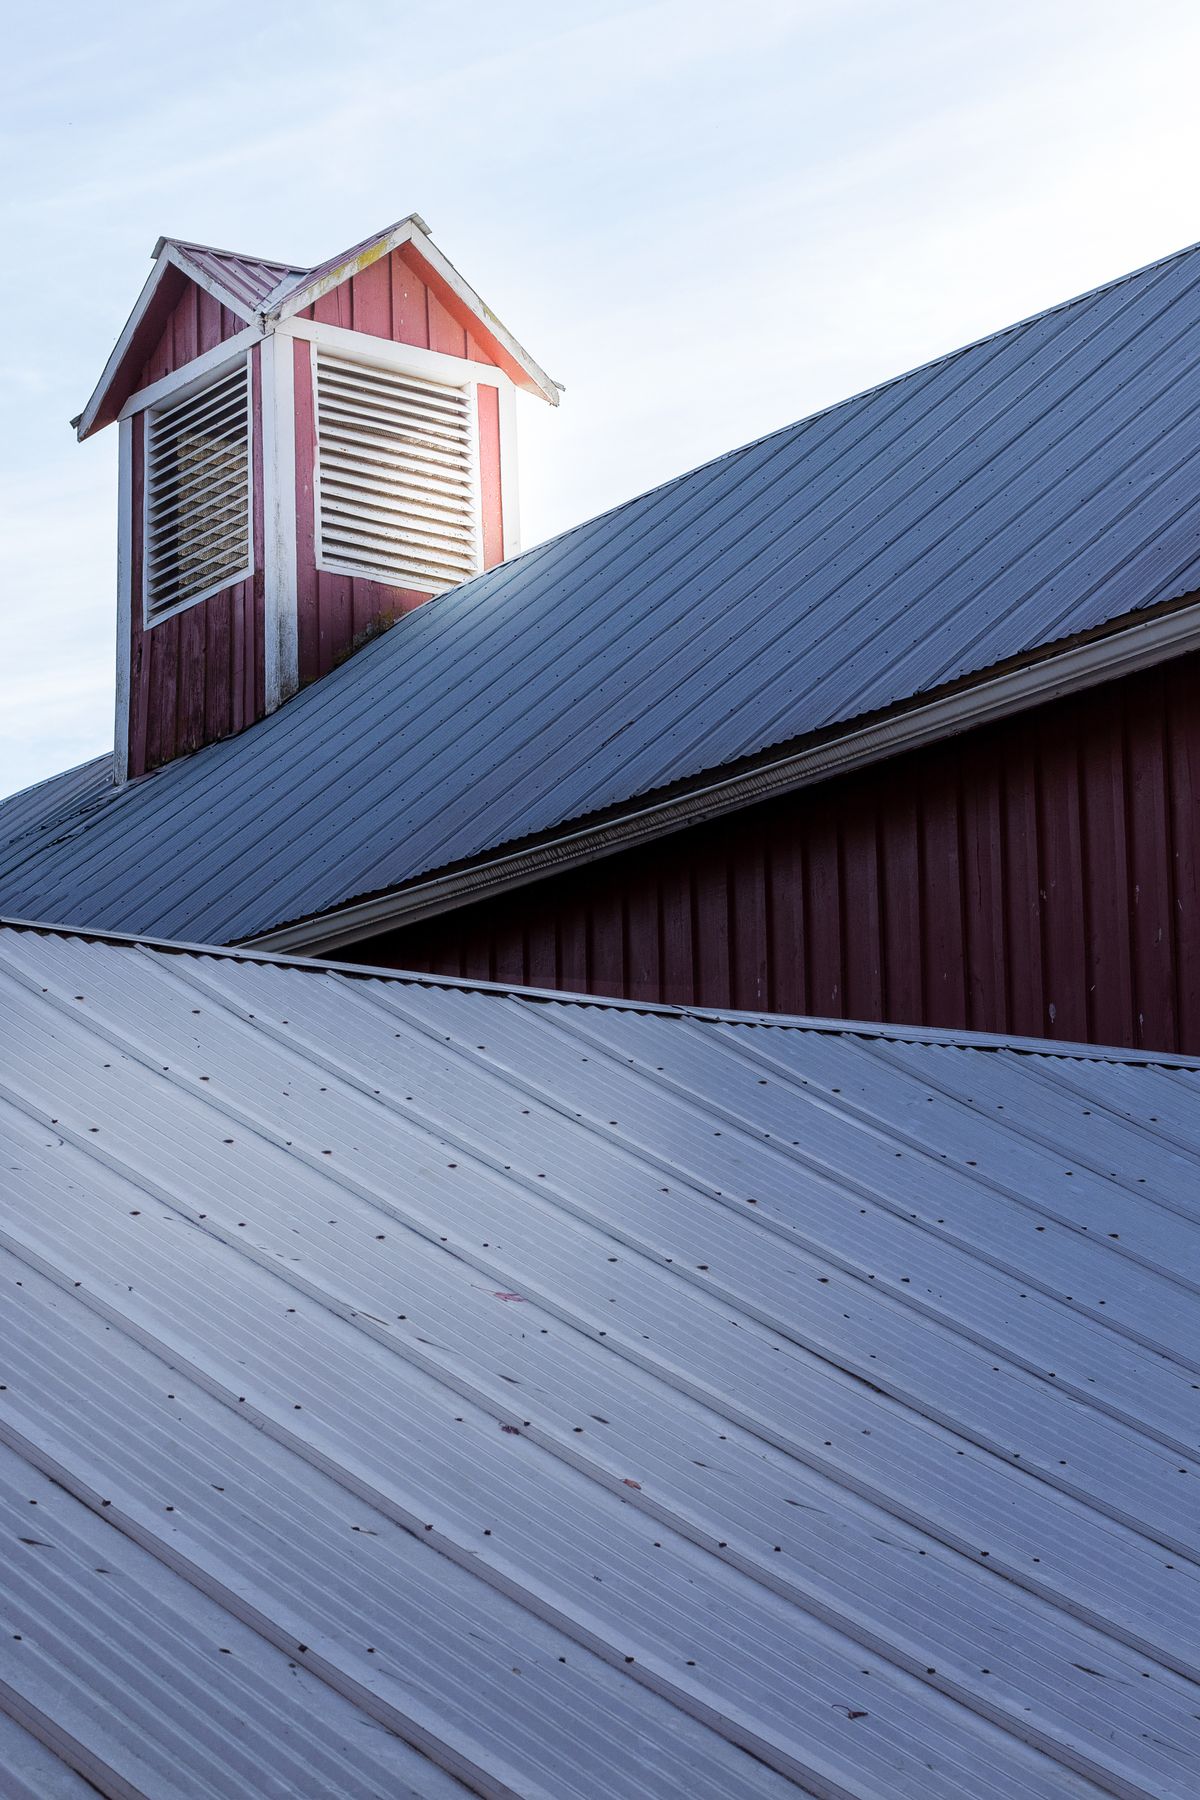
Establish what kind of attic you have
Start by asking whether the assembly is intended to be vented. A conventional attic with insulation at the ceiling plane is different from an intentionally unvented roof assembly with insulation and air control at the roofline. Adding a ridge vent is not a universal improvement for every arrangement.
Tell the roofer about finished attic rooms, spray foam, equipment in the attic, and past renovations. If records or construction photographs exist, provide them. Ask what the contractor could actually inspect. A roof viewed from the driveway does not establish the location or continuity of concealed insulation and air-control layers. The ventilation proposal should follow the assembly rather than quietly converting it into a different design without explaining the implications or the work required.
Separate intake, exhaust, and the connecting space
For a conventional vented attic, intake generally admits outdoor air low in the assembly, while exhaust provides an outlet higher up. The route between them must be appropriate for the attic geometry. An open ridge vent above blocked eaves is not evidence of a complete functioning arrangement.
Ask the contractor to identify all three parts on a sketch. “Soffit vent” should refer to an actual opening and path, not merely a perforated-looking exterior panel. “Ridge vent” should refer to the installed product and its connection to the attic, not just a decorative cap. Your question is not whether the house has visible vent accessories. It is whether the proposed route serves the space the contractor says it serves.
Learn what net free area measures
Net free ventilating area describes the usable opening area of a vent after accounting for restrictions associated with its construction. It is not the overall size of the product or the length of a decorative grille. Product data should provide the rated capacity in a usable unit.
This matters when comparing estimates. Two products of similar visible dimensions may not offer the same rated area. Ask for the product identification and the net free area used in the calculation. If the estimate only says “ridge vent, 40 feet,” you still need to know the selected product, the effective installed length, and the intake that supports it. A length becomes meaningful when it is connected with rated capacity and the actual attic arrangement.
Measure the space served, not the shingles ordered
Ventilation calculations for an attic are not normally based on the shingle ordering quantity. Roof area includes slope and may include waste allowances; attic floor area is a different measurement. Ask which space the contractor measured and how separate sections were treated.
A Goshen house with a main attic and a later garage addition may contain spaces that do not communicate freely. Adding their areas together without understanding the connection can hide a poorly served section. Ask for a diagram showing boundaries and any obstructions. The Building America calculation reference provides background on the area being served. The project calculation should still identify the actual geometry and the requirements applicable to your assembly.
Use this arithmetic only as an illustration
Suppose a hypothetical design calls for one square foot of total net free vent area for every 300 square feet of attic floor area, divided equally between intake and exhaust. That is an example assumption, not a determination that this ratio or split applies to your house.
For a 1,200-square-foot attic, the example calculation is 1,200 divided by 300, giving four square feet of total net free area. Multiplying by 144 converts that to 576 square inches. An equal split would assign 288 square inches to intake and 288 to exhaust. The arithmetic is straightforward; selecting the correct design assumptions is the professional task. Ask the contractor to state those assumptions before presenting a vent quantity as if the product length alone proves adequacy.
Convert rated area into product quantity carefully
Continue the hypothetical example with a vent rated at 18 square inches of net free area per linear foot. Supplying 288 square inches would require 16 effective feet at that rating. That does not mean any 16-foot ridge on any house can serve the attic.
The actual installation must follow the product instructions, account for effective openings, and match the design. Intake needs its own capacity calculation. A vented soffit panel may be rated differently, and obstruction can prevent the intended path from being usable. The GAF ventilation calculator is useful for seeing how product quantities follow stated assumptions. Do not substitute a calculator result for checking the property, local requirements, and the chosen system's instructions.
Ask why the selected balance is appropriate
Different references and assemblies may call for particular relationships between intake and exhaust. The important point is to identify the governing requirements and use a consistent plan, rather than mixing a ratio from one source with product selection from another.
The Home Ventilating Institute guide discusses vent placement and net free area with its own stated conditions. Ask your contractor which requirements govern the proposed design and why. You do not need to resolve competing guidance yourself. You need the estimate to make its basis visible. “We always put in a ridge vent” is an installation habit, not an explanation of the intake and exhaust relationship for this roof.
Confirm that soffit openings connect to the attic
The outside appearance of a soffit can be misleading. An exterior perforated panel may cover solid material, insulation may obstruct the route above it, or a construction detail may separate the opening from the space it is meant to serve. Ask how the path was verified.
Where baffles are part of the intended arrangement, they help maintain an air route at the eaves while keeping insulation in its proper place. The Department of Energy's baffle explanation is useful background. The actual installation needs to fit the assembly. Do not pull back insulation or cut openings yourself to see whether air can pass. Ask for inspection photographs and a written scope for correcting any obstruction.
Treat separate rafter bays and additions as real boundaries
A finished sloped ceiling may have individual channels rather than one open attic volume. Dormers, hips, fire separations, and additions can interrupt assumed airflow. Ask the contractor which areas communicate and which need a separate design decision.
A long ridge does not automatically serve every bay below it. Likewise, a low vent on one addition may not supply intake to a separate main attic. Have the proposal identify spaces rather than only exterior vent locations. If concealed construction prevents certainty, additional inspection may be the next step. An honest limitation is more useful than a whole-house calculation that assumes every internal space is open simply because the roof appears continuous from outside.
Do not mix vent types without an explanation
Existing gable vents, roof vents, ridge vents, and powered devices may be part of different arrangements. Ask what will be retained, removed, or closed when a new system is proposed. Counting every opening as additional benefit can overlook how the intended air path works.
The contractor should explain the complete configuration, including any powered equipment and the conditions under which it operates. Do not buy another fan simply because an attic feels hot during a summer visit. The observation may justify assessment, but the equipment choice should follow that assessment. A clear proposal identifies the problem it is trying to solve and the role of each component. It should not turn the roof into a collection of unrelated vent products.
Keep indoor air leakage in the discussion
Attic ventilation is not permission for moist indoor air to leak freely into the attic. Air sealing and insulation can be relevant when moisture or winter roof warming is part of the complaint. Ask whether the roof scope includes assessment of those conditions or whether another professional is needed.
Do not accept a guaranteed cure for condensation based only on adding exhaust. The underlying moisture route still deserves an explanation. At the same time, do not assume that an attic moisture issue proves the existing vents are inadequate. The useful assessment separates source, transport path, and drying conditions. The proposed work should say which part it changes, with responsibilities for any related work inside the attic identified separately from exterior roofing.
Request a written ventilation schedule
A useful schedule lists the spaces served, measured area, design basis, product names, rated net free areas, intended quantities, and the work required to create or maintain the paths. It should also identify existing vents that will remain or be altered.
That may fit on one page. The point is clarity, not paperwork for its own sake. Ask how the contractor will document concealed work such as cleared paths or installed baffles. If another contractor handles soffit work, define the handoff. A roofing estimate that assumes someone else will supply intake is incomplete unless that responsibility is clear. You should be able to compare the schedule with the finished record and understand whether the planned arrangement was actually installed.
Judge the outcome by the intended assembly
After work, save the schedule, product data, and relevant photographs with the roof records. If the original complaint involved seasonal moisture, agree on an appropriate follow-up observation rather than judging success solely by the appearance of new vents.
A good ventilation discussion leaves you with a simple explanation: this space has these intake openings, this path, and this exhaust, selected under these requirements. It should also explain remaining limits and related work. That is more useful than a promise that a ridge vent will make every attic dry, cool, or energy efficient. The visible product is the last part of the conversation; understanding the assembly is the first.